 In the past, I have mentioned that were it not for a certain muffin recipe, my husband might have overlooked my talents and spent the rest of his days wondering where he went wrong, empty bellied and forlorn. That is a bit of a tall tale, but to hear him tell it, it bears the truth of the ages. Then again, was it the muffins or the cheesecake? I ask with a crooked eyebrow… Who can say, he mutters with an unconcerned smile as he reaches for another.
This story is not, in fact about bride-price muffins, or a cheesecake dowry, but it is rather about a different sort of food laced emotion, a “foomotion”, if you will, and an experience so good I was finally able to say back to him, yes, for this I would marry you again. For many years, my husbands mother made pizza on Thursday evenings for him and his brother and sisters, as a treat to signify the end of another long week and the promise of a few days of freedom before the grind of school and assignments caught up with them again. Rumor has it that the pizza was good, but by the time I met the clan, this particular family ritual had fallen into disrepair, as compelling work and a multitude of grandchildren robbed her of her interest in the glorious secrets and fruits of the kitchen. For a time, my husband despaired, but eventually he decided to take matters into his own hands, and this, my friends, is where our story truly begins.
His first few attempts at making his own pizza were, like all early tries at something new, hopelessly fraught with disastrous results. To his credit, he did try. He bought all the gadgets and accessories, a pizza cutter, a pizza peel and stone set (the stone broke flying home from where we bought it after customs rifled through our things and repacked in the most half-assed way imaginable, with the stone facing out). Sadly, try as he might, the crust was too thick, too doughy, raw, too soggy, the toppings were uncooked or too heavy, the sauce was icky… the list goes on. After his first few tries I urged him to leave it to the true masters, the Italians, whom I happily claim kinship to through a grandmother whose people are from the southern isle of Capri (near Naples), any time the subject of pasta, parmesan, tomato sauce, marinara, pizza, ricotta, mozzarella, or cannoli comes up. The problem was, I had no pizza making skills either, never having seen such a thing made at home, as we had a multitude of authentic pizzerias and trattorias within a stones throw of my birthplace. (WHAT UP NY!!!) So, the issue hung over us in the air as beautiful pizzas were smugly flashed at us from some of the better cooking/baking blogs out there, and as we went about the business of sorting out our life as a newly married couple, the idea never quite dead but never a true possibility either. When the cravings for a really good pizza took hold of one of us, we would fight it for as long as we could, then bite the bullet and order awful delivery pizza, mourning our fate to live in a country that has no concept of such a thing as real Italian-American food. For those of you that know my husband, you can probably guess where this is all headed, and sure enough, a few days ago, he decided once and for all that he was going to make as many pizzas as he had to, until he got the damned thing right. At this I sighed, and decided to get on board, but I also smiled, because when we went through the same process with learning how to make the best NY cheesecake, the results were beyond our wildest dreams. So too with this.
He bought some pizza flour, and found a pizza dough recipe by Jamie Oliver, one of my favorite chefs. This is altered from the one on his site, but we couldn’t have done it without his recipe as a jumping off point. His recipes are so good, and I love him for his cheeky fresh take on food and life. We cut the recipe by 2/3 since it was for 6 pizzas, because while we could have finished them all off in a few days, we didn’t want to eat until we hated ourselves… not really.
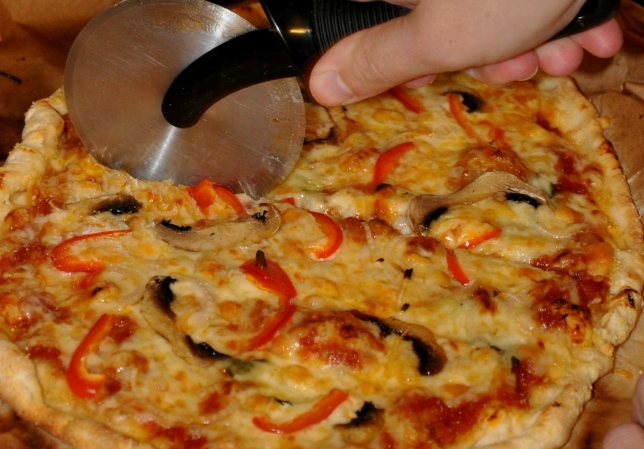
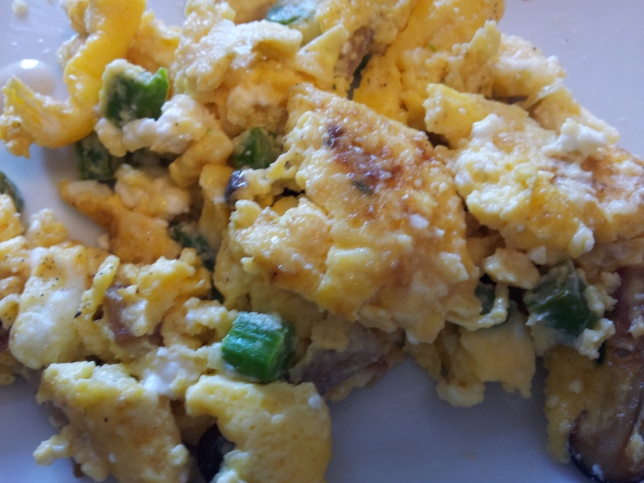
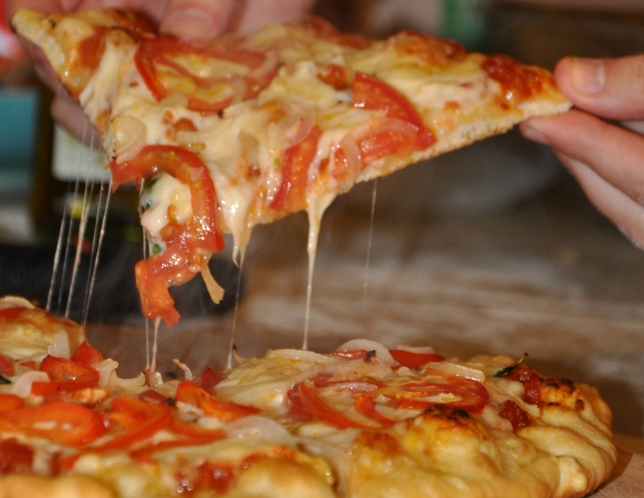
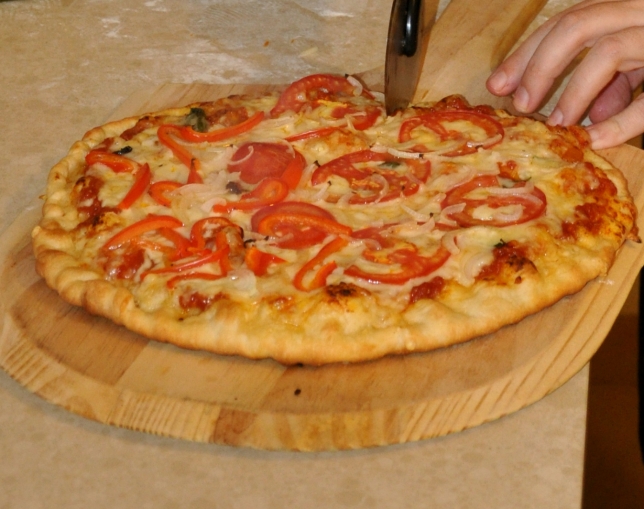
I made as good a pizza sauce as I could conjure, and then looked around until I found this page, which gave us some great tips on handling the dough, making a crust, and keeping it crispy, for which I will be eternally grateful. Finally, we selected some of our favorite toppings, including fresh basil from my window,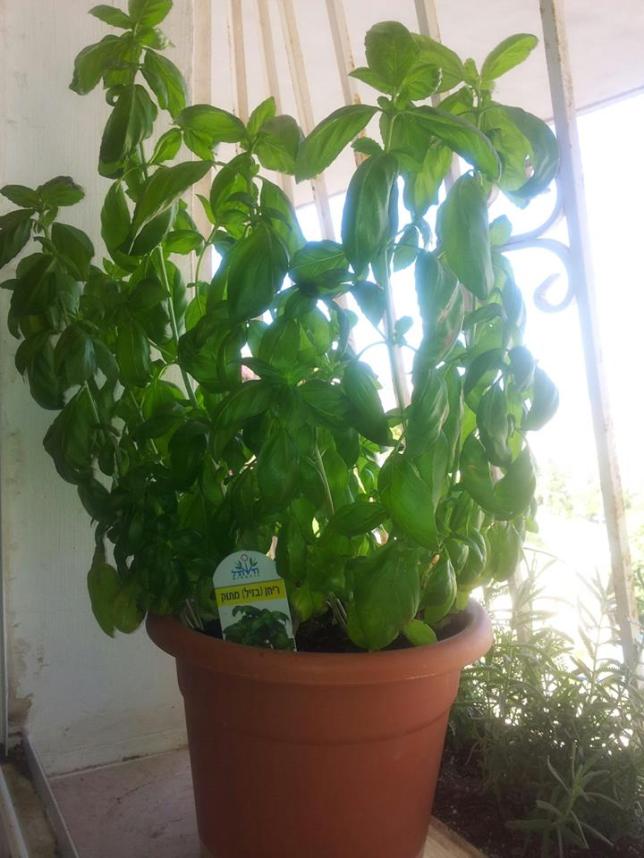 laid under a mix of 2 local cheeses, and thinly slices onions, mushrooms, peppers, and tomatoes. We baked it all in a super hot oven on foil on an overturned cookie sheet, and viola, the best pizza I had ever had. It is crispy, chewy, garlicky, saucy, cheesy, light and filling, all at once, and beyond yummy, Just like how I picture the fabled Neapolitan pizzas from the “Eat” section of “Eat, Pray, Love”. Teamwork really does yield the sweetest fruits!
Ingredients: (For 2 medium pizzas, serves 2-4)
For The Dough:
- 2 1/3 Cups Pizza Flour, or any high protein flour (plus a bit extra).
- 1 Teaspoon Sea Salt
- 1 Teaspoon Active Dried Yeast (make sure it’s not expired/dead)
- 1 Teaspoon Sugar
- 1 Tablespoon Olive Oil
- 1/2 cup Warm Water (not too hot or you will kill the yeast)
For The Chunky Tomato Sauce: (you may have leftovers) 20 minutes cook time*
- 3-5 Cloves Garlic, smashed and minced
- 3 Tablespoons Olive Oil
- 1 Can Crushed Tomatoes
- 1 Tablespoon Balsamic Vinegar
- 1/2 Teaspoon Oregano
- 1 small can or package tomato paste
- 1 Teaspoon Salt
- 1/4 Teaspoon pepper
*ALTERNATELY: You can make a super easy and delicious marinara/pizza sauce in 3-5 minutes: For 4 medium pizzas, open 2 8oz cans of tomato paste into a sauce pan, mix in 3/4 cup water, 4 tablespoons olive oil, 1 and 1/2 teaspoons salt, and 1/2 teaspoon of granulated garlic or garlic powder. Stir and simmer 3 minutes to blend flavors.
Toppings: All optional
- Thinly Sliced Mushrooms
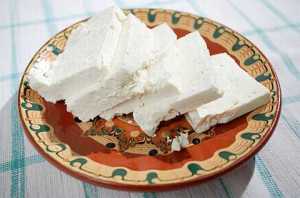
- Cubed Feta cheese
- Black or Green Olives
- Thinly Sliced Red Pepper
- Thinly Sliced Small Onion (Red or White)
- Thinly Sliced Tomatoes
- 10-12 Fresh Basil Leaves, washed
- 3 Cups Shredded Fresh Mozzarella, (I used 1 and 1/2 Cups shredded Tal Haemek, and 1 and 1/2 Cups shredded Na’am Cheese. These local cheeses were an amazing surprise, and were a nice change, I would recommend using them if you can find them, otherwise, mozzarella is just fine).
- Olive Oil for brushing the dough before adding toppings
- Cornmeal to sprinkle for texture (optional)
Method:
- Add water, yeast, sugar, and olive oil to a cup, set aside for 2-4 minutes.
- In a separate bowl, mix together flour and salt, and when the yeast is fizzing happily, add to flour mixture and slowly incorporate. When it all comes together, knead until you have a nice smooth dough that is not sticky to the touch. It will probably look too dry at first, don’t be alarmed. Just keep kneading. Maybe sing a little song… Just keep kneading, just keep kneading… After about 2 minutes of this you should have a perfectly smooth elastic dough that isn’t sticky and that has no dry bits. If not, add either a TINY bit more water or a tiny bit more flour as it needs.
- Put the dough in a large flour-dusted bowl and flour the top of it. Cover the bowl with a damp cloth and place in a warm room for about 1 hour until the dough has doubled in size. (I cheat by warming my toaster oven for a few minutes then popping the whole thing in there for about 30 minutes, once the heat is off, cuts the rising time in half!)
- Now make the sauce. (See above for easier faster option) Saute the garlic in 3 tablespoons olive oil on a medium flame, being VERY careful not to over-brown it. If it turns dark brown and bitter, you killed, it, start again. I can’t tell you how many times in my life I looked away for that crucial 10 seconds and had to chuck my garlic and start over. If it smells sweet, you are good, if it smells bitter, start again.
- When it is all just very light brown, add the can of tomato paste. Saute and stir for about 1-2 minutes, caramelizing the sugars inside the tomato paste. Then add can of crushed tomatoes. Stir to make sure that no garlic/sauce bits are stuck to the bottom, then add the balsamic vinegar, oregano, salt, and pepper. It will smell amazing by now, but it’s not ready yet! The flavors need to melt together, and for this, you need a little time.
- Stir again, then cover tightly, and cook for 20-25 minutes, keeping it on a medium heat. You want to check it and stir every 5 minutes or so. (Watch out, the splatters are HOT!) After 20 minutes, remove the cover and allow it to cook down for another 5-10 minutes, stirring occasionally. Once the sauce is thick with very little liquid you can turn off the heat, and let it sit to cool, uncovered.
- Once the dough has risen, take it out and punch it down… don’t be afraid to over-knead, as this is one of the few times working with dough that you actually want to develop a lot of gluten, so have at it! It should be smooth, and elastic, and not sticky, but not dry either.
- Once it is all kneaded, separate into two halves, and roll into balls. These will be your pizza crusts. You can either use them now, or wrap in plastic and put in the fridge for tomorrow. (A very good plan if you are super busy and just making the dough took up your free time for the evening).
- 30 minutes to an hour before you are ready to bake your pizzas, turn over a deep cookie sheet on the floor of the oven, so your pizzas will sit about 2 inches off the hot floor of the oven, or use a pizza stone, if you have one. Preheat the oven. I turned mine up to max, which is around 250 degrees Celsius, or 482 degrees Fahrenheit. Roll out the dough for each pizza with a rolling pin, and then place on an oiled sheet of tinfoil. You can sprinkle a bit of cornmeal over the oiled foil before placing the rolled out dough on it if you like, I enjoy the added flavor and texture this provides, but you don’t have to, and sometimes it’s nicer without it, totally up to you.
- Now prepare your toppings, if you haven’t already. (Shred cheese, slice veggies etc.).
- Doing one at a time, roll out your dough to the size and shape you want (about 1/8 to 1/4 inch thick and about 12-14 inches across) and then roll and pinch the edges to form a crust.
- Brush the surface of the dough with olive oil, this will keep your pizza from getting soggy
- Then, add a ladleful of thick garlicky sauce to the middle and spread all around evenly, but not too thickly! Lay down a few evenly spaced basil leaves, no more than 5-6. cover with a mix of your cheeses (about 1 and 1/2 cups per pizza), then arrange the toppings you want. If you want, sprinkle cornmeal around the crust and with your pizza peel, slide your pizza with the foil directly onto the cookie sheet, and close the oven quickly.
- Bake for 6 minutes, or until cheese is bubbling and crust is crispy on the bottom. Set a timer, one extra minute could burn up all your hard work!!! Now make second pizza the same way (olive oil, sauce, basil, cheese, toppings, cornmeal on crust).
- When timer sounds, remove first pizza with pizza peel and let cool for at least 3 minutes, before slicing and enjoying with a tall glass of ice cold beer.